10 Easy Science Experiments for Kids to Try at Home
Don’t worry if you have never scored good marks in biology and had fun in a chemistry lab. Recall your school memories and do these science experiments with your kids at home. I am sure you will end up learning the scientific concepts that you haven’t read in school.
Whether it’s the organic chemistry or research in quantum mechanics, for some science is an interesting subject, while for others, it is a nightmare. But you will be surprised to know that science is not only confined to the lab, in fact, you can also do some amazing science experiments at your home. Do you know you can also create a rainbow and a volcano at home?
If you like experimenting, here is a list of fun science activities you can try with your kids at home. Learn the new scientific concepts and share the results with teachers and friends.
Easy DIY Science Experiments Your Kids Will Love to Learn
1. Create Your Tornado
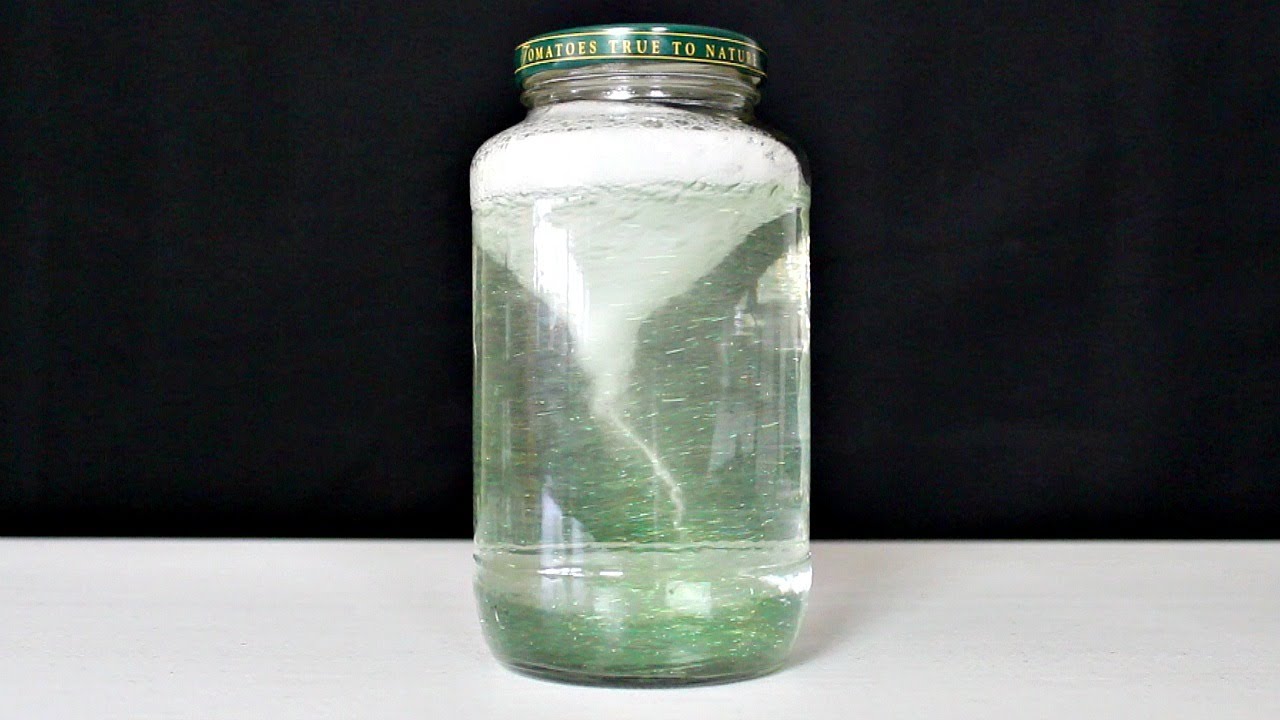
Have you ever thought of making a tornado at home but don’t know how to experiment? If so, here are some easy steps by which you can make your tornado.
Things Required
• Plastic bottle with a cap
• Water
• Dishwashing liquid
• Glitter/ food dye (optional)
Steps to Follow
- Fill the plastic bottle with water and add a few drops of washing liquid.
- Add a pinch of glitter to make your tornado easily visible (optional).
- Put the cap.
- Turn the bottle upside down and spin it in a circular motion for a few seconds. Look inside if you can see a tornado forming in the water.
The Science Behind the Experiment
When you spin the bottle, it creates a vortex that looks like a tornado. The water spins around the center of the vortex due to the force (centripetal force) directing fluid towards the center.
Note – You may have to practice it a few times before showing this to your kids.
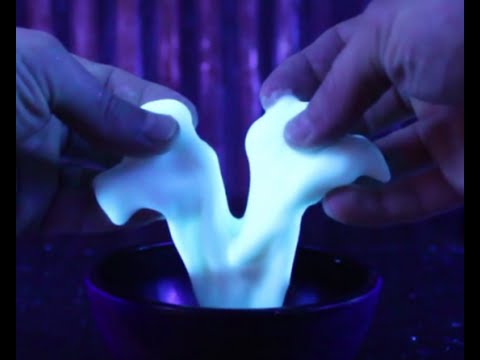
2. Slime
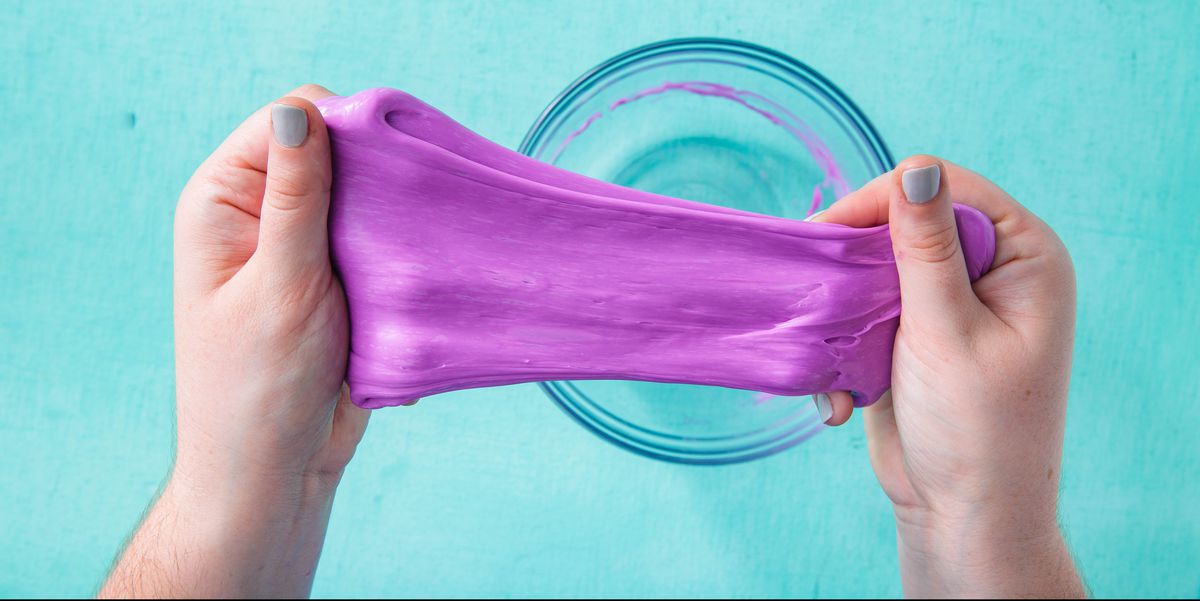
Learn to make your slime in four easy steps. Surprise your kids with their favorite toy prepared at home on their birthday.
Things Required
• Plastic spoons
• Plastic cups
• Borax powder
• Water
• PVA glue
• Any food color
Steps to Follow
Here are the steps you should follow to make slime at home.
• In a cup, mix a tablespoon of Borax into the water and stir until it dissolves.
• Next, mix a tablespoon of PVA glue into two tablespoons of water. Add food color and stir well.
• Now add one tbsp of borax solution to the glue mixture.
• Stir well and see mixture turning into lime.
Yay! It’s done.
The Science Behind the Experiment
Borax or sodium borate causes cross-links between the strands of the PVA. This prevents the strands crossing each other and forms the fluid. The glue has polyvinyl acetate (liquid polymer) which links the molecules to each other and creates one flexible polymer in the form of slime.
Check out the video to prepare ice, water, and glossy slime.
Source – "Talisa Tossell"
3. Instant Ice Sculptures
You might have seen beautiful sculptures carved on the wall in museums and on the streets, but have you ever seen ice sculpture? Do you want to try this instant science experiment at home? Yes? Read the steps below.
Things Required
• Saucepan
• Sodium Acetate
• Scissors
• Pyrex Dish
Steps to Follow
• Pour sodium acetate into a saucepan. Add a small amount of water to dissolve the gel.
• Heat the mixture and stir well.
• Now, add this mixture into a glass. Make sure that undissolved gel does not get into the glass.
• Put this mix into the fridge for an hour.
• Take the mixture out (it should be liquid). Touch it and watch the mixture instantly freeze.
To create the sculptures, you will require a metal tray with a thin layer of sodium acetate powder to act as a nucleation site.
Source – "Household Hacker"
4. Rainbow in a Glass
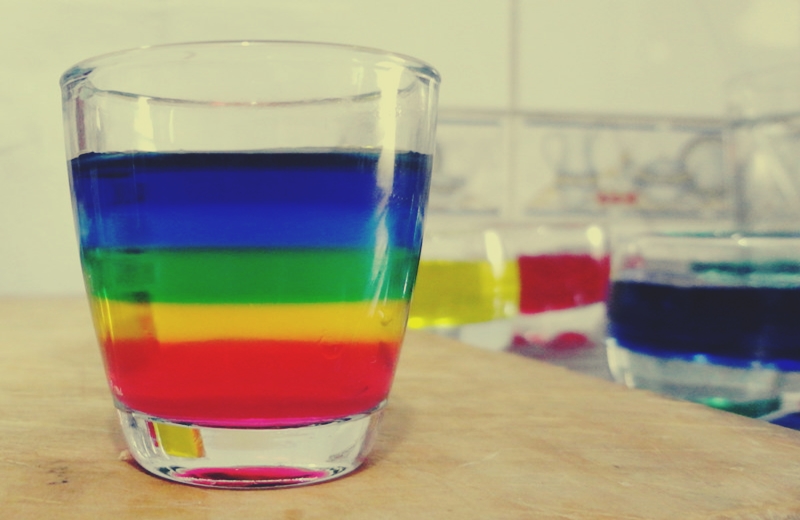
Rainbow is caused by reflection, refraction, and dispersion of light in the water droplets that result in a spectrum of light appearing in the sky. But do you know you can also form a rainbow at your home? This science activity involves the concept of density to create a beautiful rainbow in a glass.
Things Required
• Different food colors
• Water
• Sugar
• Glasses (5-6)
• PATIENCE
Steps to Follow
• Arrange all the glasses on the table and add 3 tbsp of water into the first four glasses.
• Now add one tbsp of sugar into the first glass, two tbsp of sugar into the second glass and so on.
• Stir well until the sugar dissolves.
• Next, add different food colors to each glass.
• Pour only 1/4th of the fourth glass into the last glass (glass no. 5)
• Now slowly pour the next layer in a way that it doesn’t get mixed with the first layer.
• Keep on adding other layers in a glass.
The Science Behind the Experiment
The different amounts of sugar you added in the glass create different densities. The denser solution will sit at the bottom, and the lightest will rest on the top.
Practice until you get all the layers resting on the surface.
5. Volcanoes
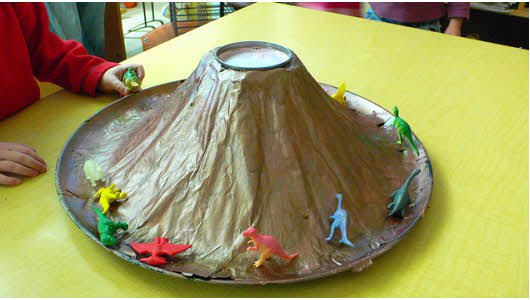
Volcanoes always excite the kids. So, why not give it a try and create a volcano erupting inside your home? It is one of the best science projects that requires no time and can be easily tried at home.
Things Required
• A dish for the base
• Soda Bottle
• Dish soap
• Food Color (optional)
• Vinegar
• Baking Soda
• Play Dough to make the volcano
• For decoration - Flowers, leaves or pebbles (optional)
Steps to Follow
• Shape the volcano by wrapping the playdough around the bottle.
• To make it more attractive, decorate the volcano by flowers, trees, and bushes.
• To make lava, mix your favorite color with warm water.
• Pour the mix inside the volcano (bottle).
• Now add six drops of dish soap, two tbsp of baking soda and vinegar into it.
That’s it! You will notice beautiful lava coming out of the volcano.
Have you ever thought of enjoying science experiments while wearing pajamas at home?
6. Blow Balloon with Baking Soda and Vinegar
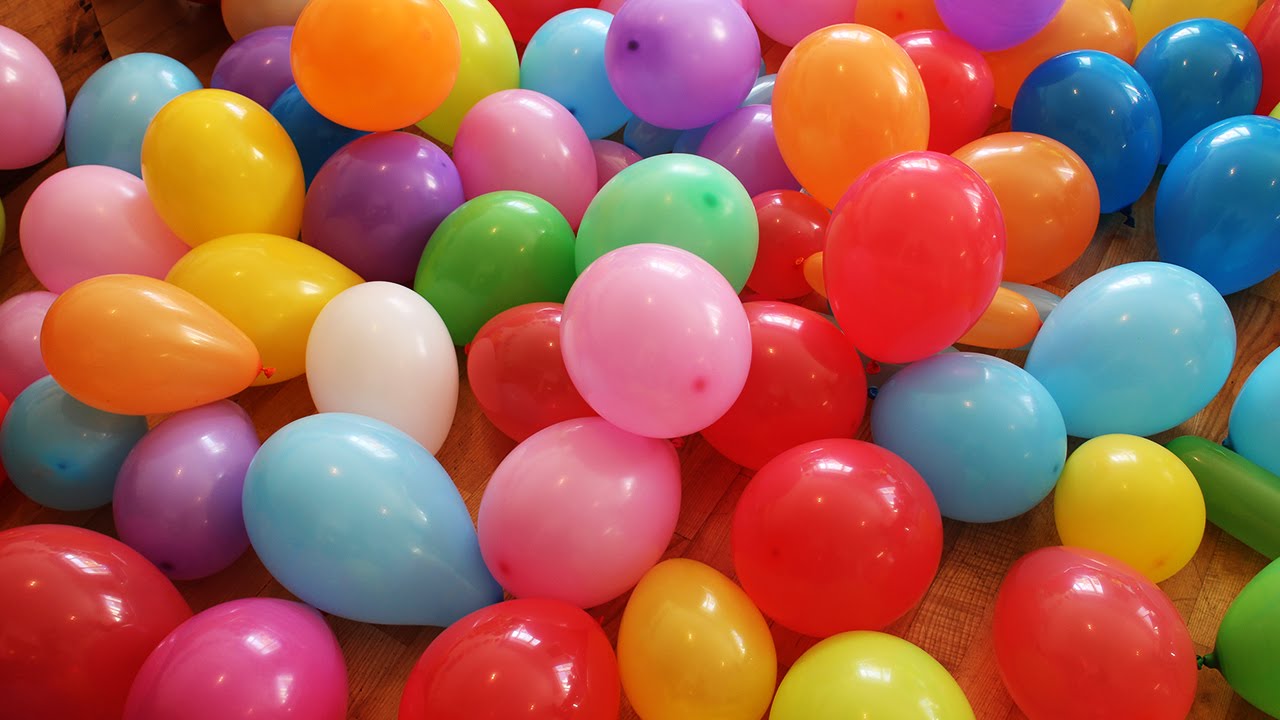
Do you also find blowing a balloon a difficult task? Here are some easy steps by which you can blow a balloon without using your breath.
Things Required
• Baking Soda
• Empty Water Bottle
• Funnel
• Balloon
• ½ Cup of Vinegar
Steps to Follow
• Pour vinegar into the bottle
• Loosen up the balloon and then use the funnel/paper to add baking soda into it.
• Next, put the neck of the balloon over the neck of the bottle. Make sure that soda didn’t fall into the bottle.
• Now, lift the balloon in a way that soda falls from the balloon into the bottle and get mixed with vinegar.
The Science Behind The Experiment
This science experiment creates an acid-base reaction (baking soda + vinegar). When the two chemicals react with each other, they release a gas which in turn fills the bottle and inflates the balloon.
7. Invisible Messages
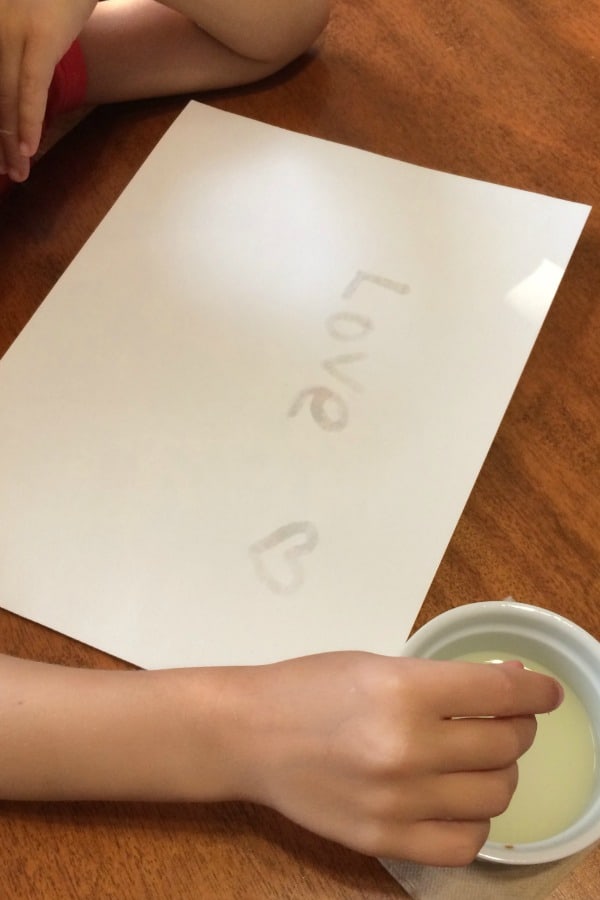
Do you want to share a secret message to your mother? Here’s a science experiment that makes the message invisible. Follow the steps and write a message that would be shared between only you and your mother.
Things Required
• White paper
• Cotton
• Bowl
• Lemon juice
• Blow Dryer
Steps to Follow
• Pour lemon juice in a bowl
• Dip the cotton in the juice and write your secret message on the paper.
• As soon as you write the message, you will see juice fading as it seeps into the paper.
• Next, use the blow dryer to see your secret message highlighting on the paper.
Note – If you use real lemon juice, the message will become visible only when the light is thrown on the paper. If you use freshly squeezed lemon juice, the message will turn brown.
To make this science experiment more interesting. Repeat the same steps with different fruits available at your home to see how the message clarity differs.
8. Static Electricity Butterfly Experiment
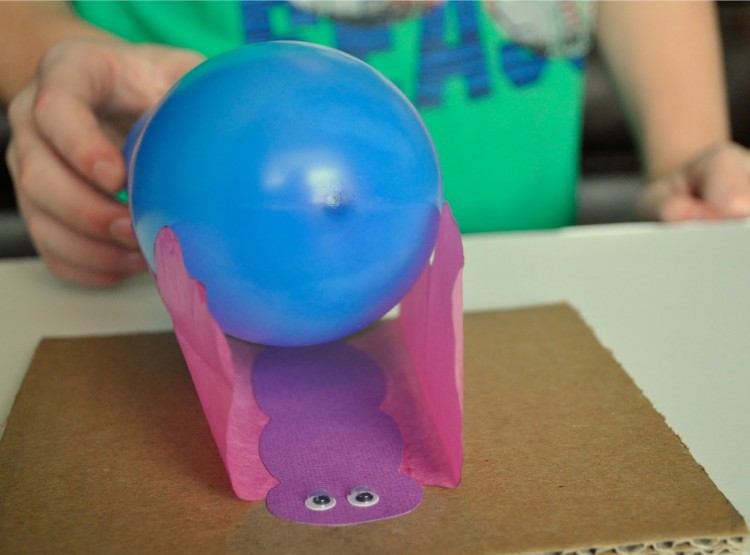
Static electricity is a boring subject, especially for kids. But you can make it interesting and fun by creating a butterfly that flutters up and down its wings when charged with a balloon.
Things Required
- Pencil
- Tissue Paper
- Cardboard
- Balloon
- Glue Stick
Steps to Follow
• Make a butterfly by tissue paper and stick it on the cardboard.
• Remember to stick the butterfly body on the cardboard and not wings.
• Now, blow up the balloon, and rub it into your hair. This gives it an electric charge.
• Hold the balloon close to the butterfly and watch its wings moving up when you move balloon closer and down when you move it farther.
Note - You can try this science project with other things too. Butterflies are created to attract kids.
9. Pocket Rocket

Don’t be upset if you haven’t joined NASA because you can also create your rocket. Follow the below steps, and yes, your rocket is ready to launch.
Things Required
- Alka-Seltzer tablet
- Water
- Water coloring paint (if required)
- Old photo film canister
- A piece of blu-tack (reusable adhesive)
Steps to Follow
- Take the lid of the canister and stick the blu tack to the inside.
- Also, stick your alka-seltzer tablet to the blu tack.
- Fill half of the canister with water and close the lid.
- Turn the canister upside down and step back.
- You are done with the pocket rocket.
The Science Behind the Experiment
This is a great example of pressure. As the alka-seltzer dissolves, it releases a gas (carbon dioxide). The canister is airtight, so the pressure builds until it goes POP.
Alternative Method
Use mouthwash, yeast, and pasta to create the hybrid rocket engine. Check the below video and see how all these ingredients can make this mini engine.
Source - "NightHawkinLight"
10. Magic Mud
Playing with mud is the favorite past time of the kids. But this time, make them surprised with the magic mud prepared at home. Let them learn interesting things about the mud with this easy science experiment.
Things Required
• Cornstarch
• Bowl
• Spoon for mixing
• Food coloring (optional)
Steps To Follow
• Take a bowl and add two cups of cornstarch into it.
• Add water and a few drops of food coloring.
• Mix the ingredients with hand or with a spoon.
• You are ready with your magic mud.
This magic mud will have both liquid and solid properties. Drop some particle on the mud and notice the difference. Squeeze the mud, and enjoy the shapes.
Note- You can also make this science experiment using real mud. All you will need is water, baking soda, mud, white vinegar, and tempera paint.
Concluding Thoughts
I didn’t know that science is so easy. These science experiments have boosted my confidence. So, next time whenever your kid comes up with a question ‘how to make a science project,’ show them your skills and feel proud that even you didn’t score good, you are helping them with science projects. But don’t forget that each experiment needs the practice to attain a good result.
Have you ever tried any of these science project models at your home? If so, how was your experience – Yay or Nay? Drop your comments below.
Popular Posts
What Is Trypophobia – A Disgust More Than Fear
"I can't really face small, irregularly or asymmetrically placed holes, they make me like, throw up in my mouth, cry a little bi...
Chandan Roy
16 Interesting Facts About Ambidextrous People
A lefty or left-handed uses his left hand more naturally and dominantly than the right hand. And the righty or right-handed is o...
Ethan Stephans
20 Interesting Facts About Meteoroid, Meteor and Meteorite
Watching celestial objects is a true delight. It is still fun to catch a sight of shooting stars when we grow up. A second of th...
Swati Bhandari